Evaluation on an Independent Dataset for Image Recognition
Monitor the performance of your custom models on test dataset with Ximilar platform.


Today, I would like to present the latest feature which many of you were missing in our custom image recognition service. We don’t see this feature in any other public platform that allows you to train your own classification models.
Many machine-learning specialists and data scientists are used to evaluate models on an test dataset, which is selected by them manually and is not seen by the training process. Why? So they see the results on a dataset which is not biased to the training data.
We think that this is a critical step for the reliability and transparency of our solution.
“The more we come to rely on technology, the more important it becomes that it’s robust and trustworthy, doing what we want it to do”.
Max Tegmark, scientist and author of international bestseller Life 3.0
Training, Validation and Testing Datasets at the Ximilar platform
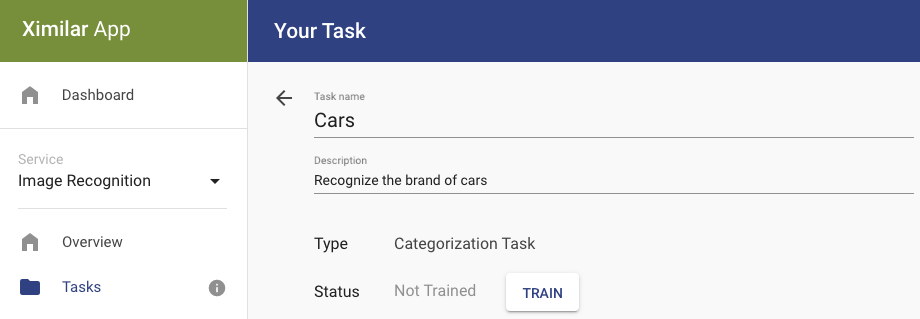
Your Categorization or Tagging Task in the image recognition service contains labels. Every label must contain at least 20 images before Ximilar allows you to train the task.
When you click on the Train button, the new model/training is added to a queue. Our training process takes the next non-trained model (neural network) from the queue and starts the optimization.

The process divides your data/images (which are not labelled with a test flag) into the training dataset (80 %) and validation (20 %) dataset randomly.
In the first phase, the model optimization is done on the training dataset and evaluated it on the validation dataset. The result of this evaluation is stored, and its Accuracy number is what you see when you open your task or detail of the model.
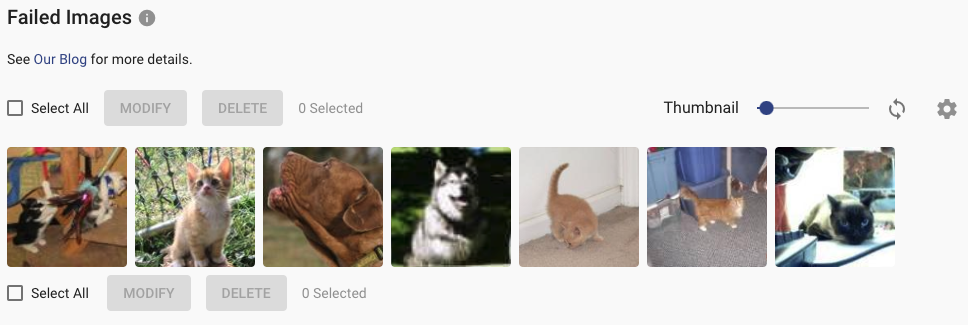
In the last training phase, the process takes all your data (training and validation dataset) and optimizes the model one more time. Then we compute the failed images and store them. You can see them at the bottom of the model page.

Newly, you can mark certain images by the test flag. Before your optimized model is stored in the database (after the training phases), the model is evaluated on this test dataset (images with test flag). This is a very useful feature if you are looking for better insights into your model. In short:
- Creating a test dataset for your Task is optional.
- The test dataset is stable, it contains images only that you mark with the “test” flag. On the contrary, the validation dataset mentioned above is picked randomly. That’s why the results (accuracy, precision, recall) of the test dataset are better for monitoring between different model versions of your Task.
- Your task is never optimized on the test dataset.
How to set up your test dataset?
If you want to add this test flag to some of your images, then select them and use the MODIFY button. Select the checkbox “Set as test images” and that’s it.
Naturally, these test images must have the correct labels (categories or tags). If the labels of your task contain also these test images, every newly trained model will contain the independent test evaluation. You can display these results by selecting the “Test” check button in the upper-right corner of the model detail.
To sum it up
So, if you have some series of test images, then you will be able to see two results in the detail of your model:
1. Validation Set selected randomly from your training images (this is shown as default)
2. Test Set (your selected images)
We recommend adding at least 30 images to the test set per Label/Tag and increasing the numbers (hundreds or thousands) over time.
We hope you will love this feature whether you are working on your healthcare, retail, or industry project. If you want to know more about insights from the model page, then read our older blog post. We are looking forward to bringing more explainability features (Explainable AI) in the future, so stay tuned.

David Novák
Computer Vision Expert & Founder
David founded Ximilar after more than ten years of academic research. He wanted to build smart AI products not only for the corporate sphere, but especially for medium to small businesses. He has extensive experience in both computer vision research and its practical applications.
Tags & Themes
Related Articles

Ximilar Now Combines Visual and Text-to-Image Search
E-commerce retailers using our search engine now have access to multilingual text search as well.

Automate Card Grading With AI via API – Step by Step
A guide on how to easily connect to our trading card grading and condition evaluation AI via API.

How to Automate Pricing of Cards & Comics via API
A step-by-step guide on how to easily get pricing data for databases of collectibles, such as comic books, manga, trading card games & sports cards.